Mango Ice Cream
- aguilarmayracruz
- Jul 26, 2020
- 3 min read
Updated: Aug 17, 2020
In Mexico, nieve is a traditional ice cream. Nieve is mainly prepared with natural fruit, making this type of ice cream a unique dessert with a unique flavor. I've loved this ice cream since I was a kid, and it is one of those desserts that always takes me back to my childhood. This is a very simple dessert that you can enjoy at home with family and friends. Here in this recipe I present you options to prepare, freeze, and enjoy the unique flavor of a delicious mango ice cream. I hope you enjoy this ice cream as much as my family and I do!🥭🥭🥭🥭

🥣 Cooking Time: 15-20mins
🍲 Servings: 6-8
Ingredients
3 cups of fresh cut mango 2 cups of whipping cream 1 cup of whole milk 1 can of condensed milk A splash of vanilla extract
For freezing (optional) 1/8 cup kosher salt or rock salt 1 small Ziploc bag (quart size) 1 large Ziploc bag (gallon size)
3-4 cups of ice
Directions
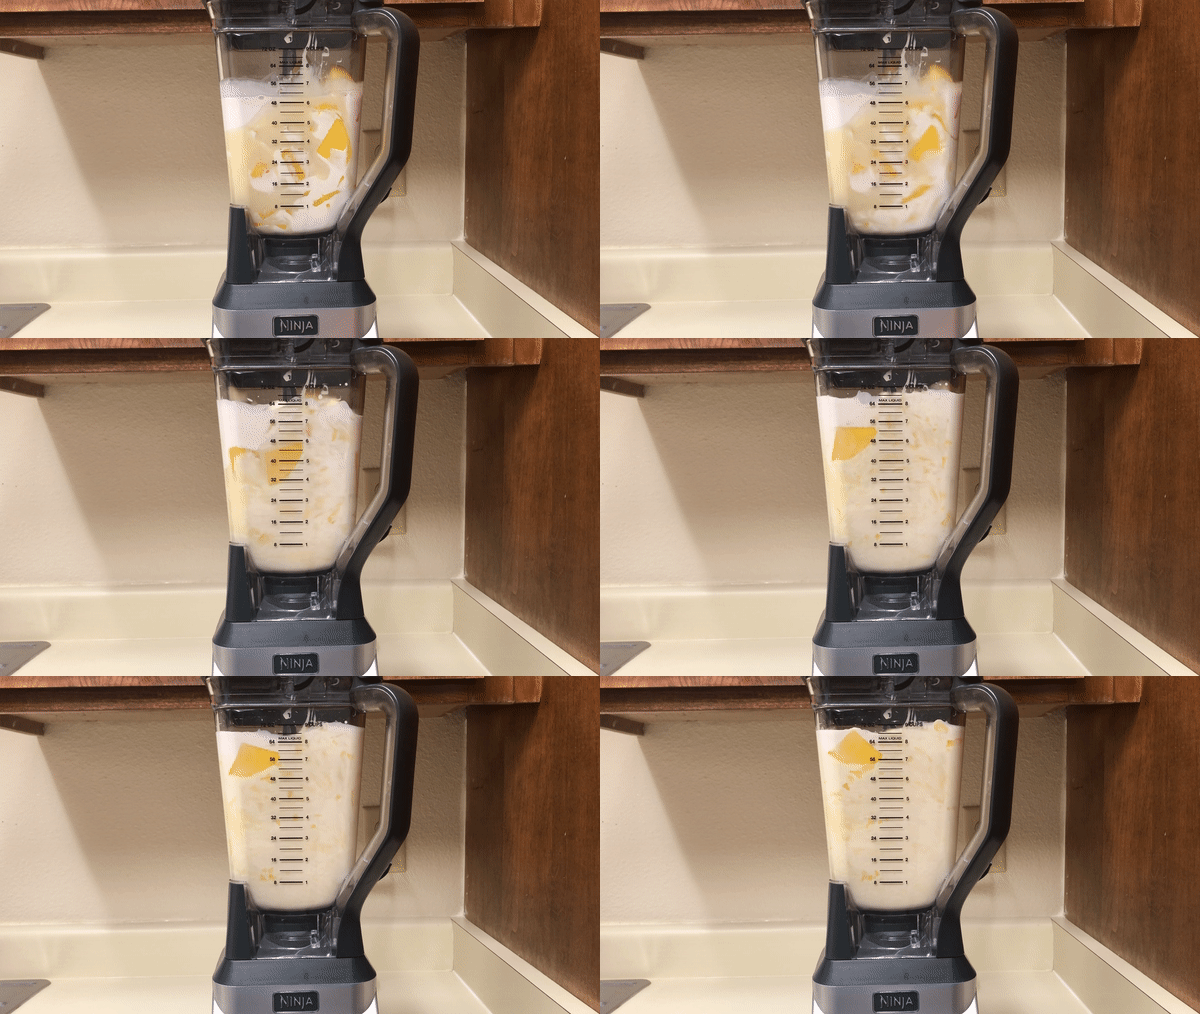
1. Using a blender, blend all ingredients until they are well combined and you have a smooth mixture.
2. Once the ice cream mix is ready you have two options to freeze it.
3. The first option is to freeze the ice cream mix into an airtight container and place it in the freezer. The ice cream must be frozen for a minimum of 2 hours before serving.

4. The second option if you want to speed up the freezing process, and to obtain a smoother consistency in your ice cream, is to churn it by hand with the help of Ziploc plastic bags. For this you will need a small bag and a large one.
5. To begin the process, first pour the mix into the small Ziploc bag and seal it.
6. Add ice into the large bag, making sure to fill only approximately half of the bag as we need to leave room to put the small bag in too.
7. Add 1/8 cup coarse salt into the ice. The salt is necessary to reduce the temperature at which water freezes, helping you obtain a soft and creamy ice cream.
8. Put the small bag inside the large bag with salt and ice. Then close the large bag, tightly sealing it.

9. Now with the help of good oven mitts, shake vigorously for 15 minutes or until the ice cream mix thickens and acquires a smooth texture. When you start to shake the bag, you will notice the exterior will quickly become extremely cold to the touch; wear oven mitts or use a thick towel to wrap the bag and shake. This will help prevent ice from burning your hands while shaking the bag.
10. Once the ice cream is ready you can enjoy it directly from the bag, or serve it into individual portions. ¡Buen provecho!
Notes

If you want to churn your ice cream by hand, it’s very important to add salt to the ice. Why? Because ice cream freezes, and melts, at a lower temperature than water. If you try to churn your mix with ice alone, the sugar and fats in the mix will prevent the formation of ice crystals. Ice alone will not be cold enough to freeze a mix this thick.
Adding salt to the ice helps lowering the freezing & melting point of water, and creating a saltwater slush. This slush packed around the mix allows cools everything enough so that it starts to thicken and freeze before the ice melts completely. Once you notice this slushy, half-melted saltwater around your ice cream mix you might think “this can't possibly be colder than hard ice cubes!”. Well, it is! The science behind this method really works to make ice cream, and has done so for centuries!
So please make sure to not skip the salt to churn your ice cream. If you proceed to churn without salt, you will end up with a bag full of what will look like a smoothie and not mango ice cream.
Another key to thickening and freezing, your ice cream is to keep shaking the bag non-stop. So, if you have company at home, I recommend taking turns so you don't stop the churning process.


Comments